
Do you ever feel like no matter how much you love something, you’re just ready for a change? When I first decorated this bedroom back in 2015, it easily became my favorite room in the whole house and also my most pinned, shared, and commented on space by you guys over the last 5 years. I’ve been craving a little bit of change in here, but still wanted to keep the charm and character that made me fall in love in the first place. A little less lace and ruffles, and a little more of an organic, natural feel.
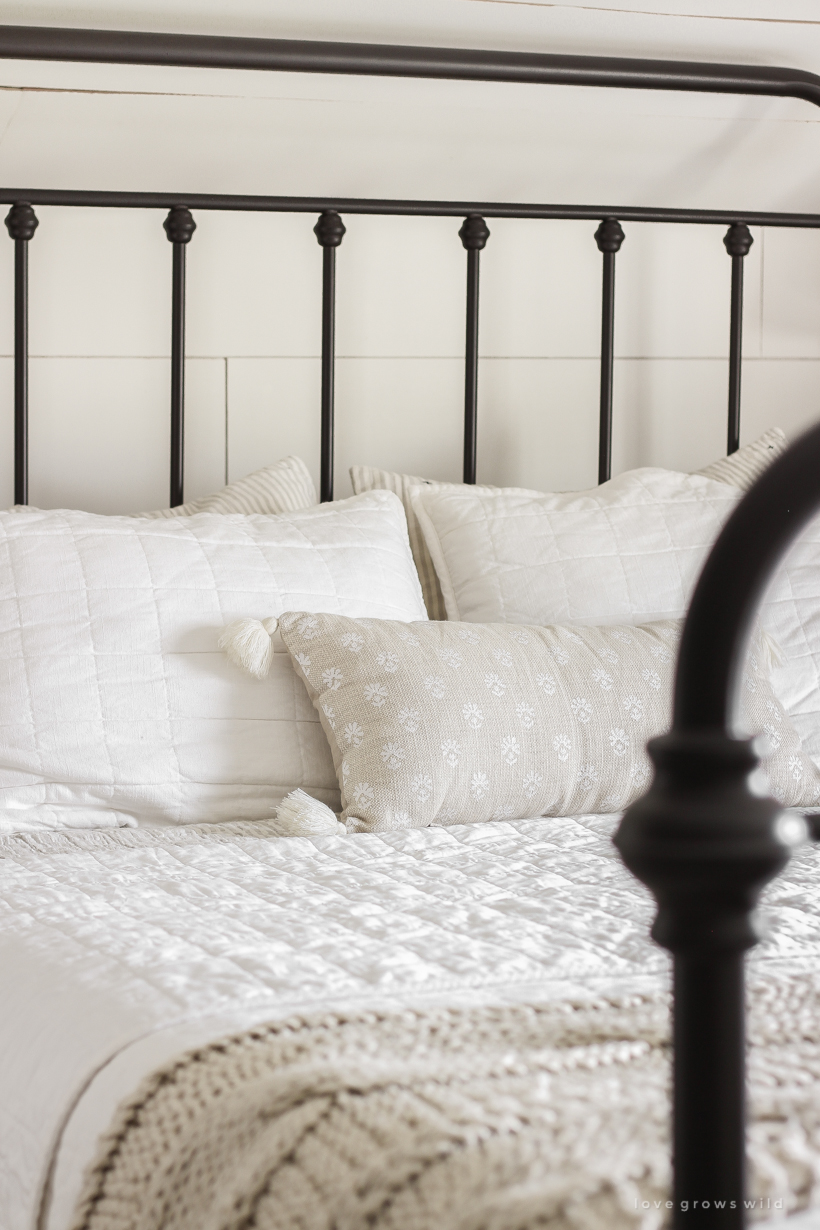
I started with some new bedding that I spotted during a recent Target trip and couldn’t pass up. I already had this stripe and stitch comforter and pillow shams from the Hearth & Hand line, but the duvet I had on top previously was big and ruffled and just felt a little too “fancy/feminine” for the look I wanted.
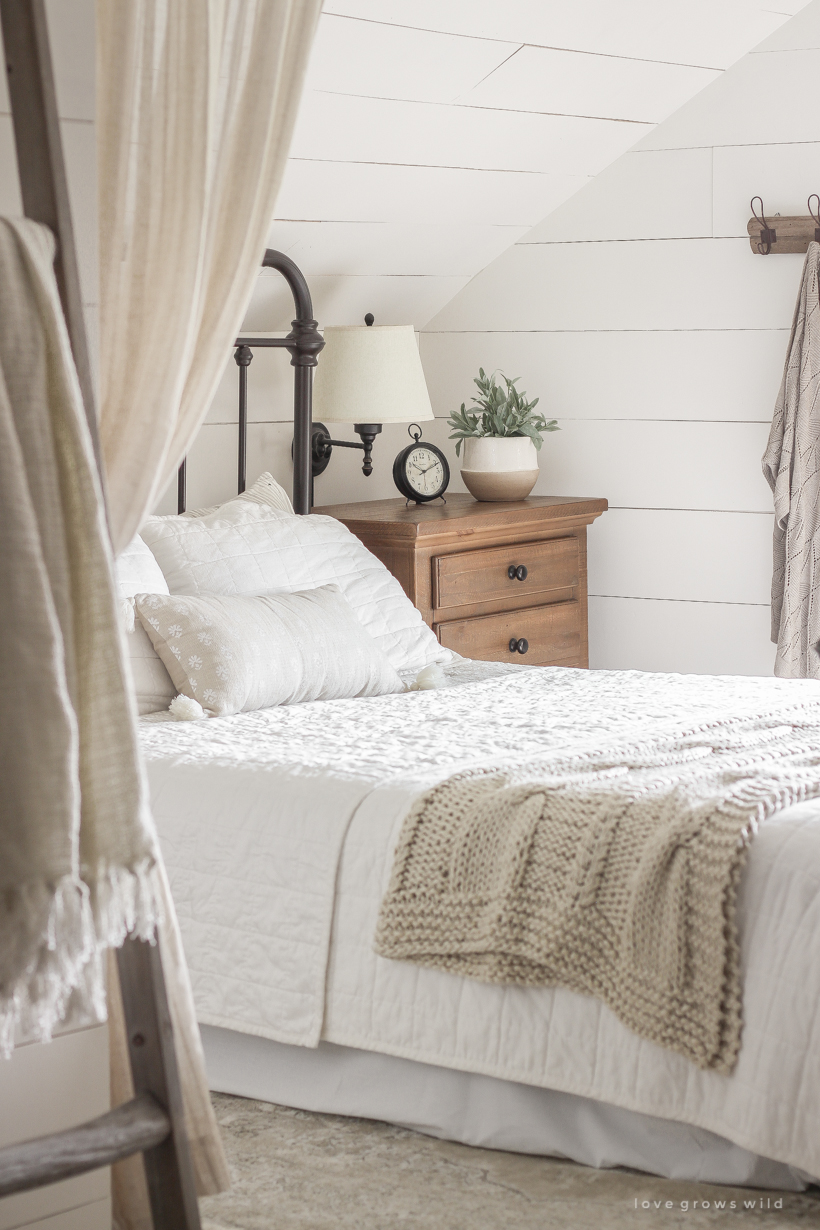
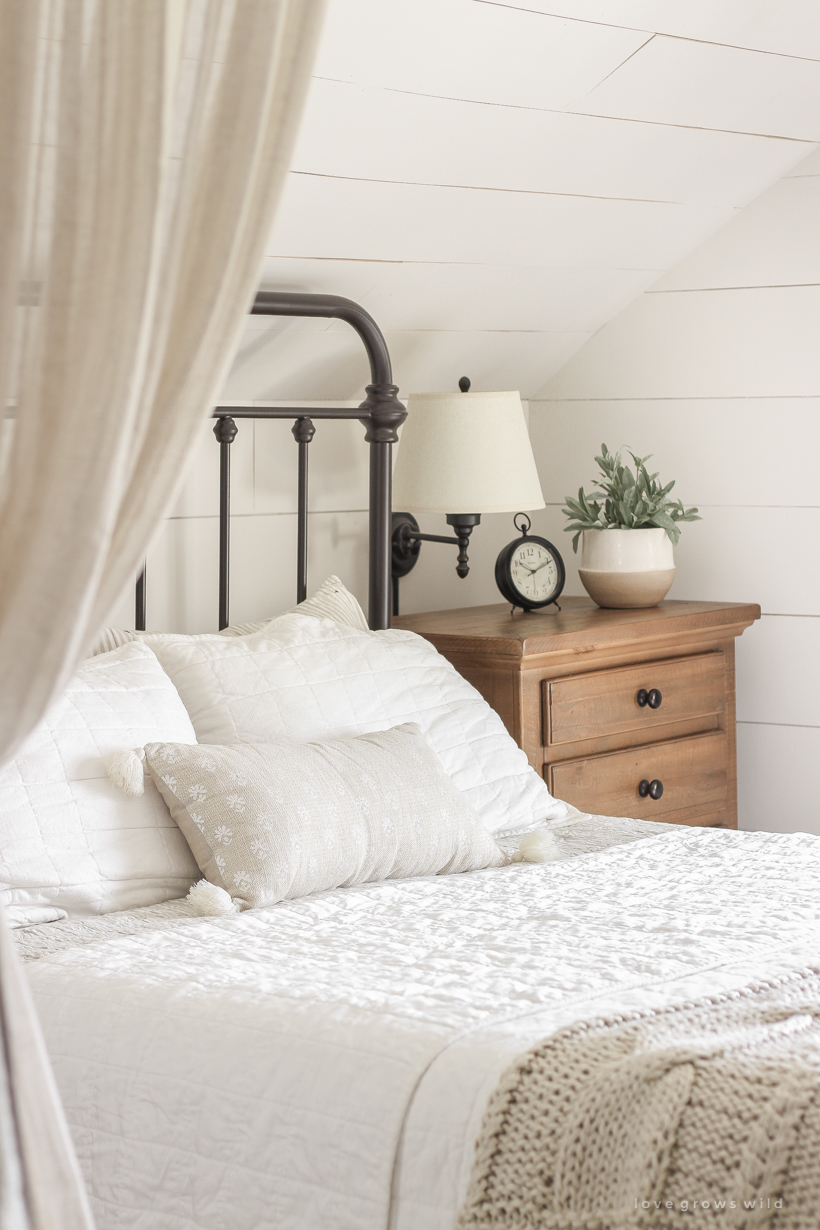
Target came out with a new bedding line called Casaluna, and there isn’t a piece in the collection I don’t love. Everything is simple and super cozy with the perfect textures, colors, and fabrics. I grabbed the heavyweight linen blend quilt and matching pillow shams in white, along with a simple solid bed skirt. In full disclosure, I would have prefered to get the Casaluna bed skirt because the fabric is a lot nicer. But the basic one I ended up choosing was $23 less expensive, and I figured how much of the bed skirt will you honestly even be able to see? Since I was spending the money on a nice new quilt and pillow shams, I decided to save money where I could on a less visible piece.
The quilt is definitely heavyweight and perfect for the upcoming cold months. I love the texture and coziness it adds to the bed while still feeling simple and serene. I finished the look with a lumbar pillow from Target that I bought a few years ago and a big, chunky, beautiful throw blanket sitting at the foot of the bed. This is the exact blanket I have, but here is a similar one from the Casaluna line.
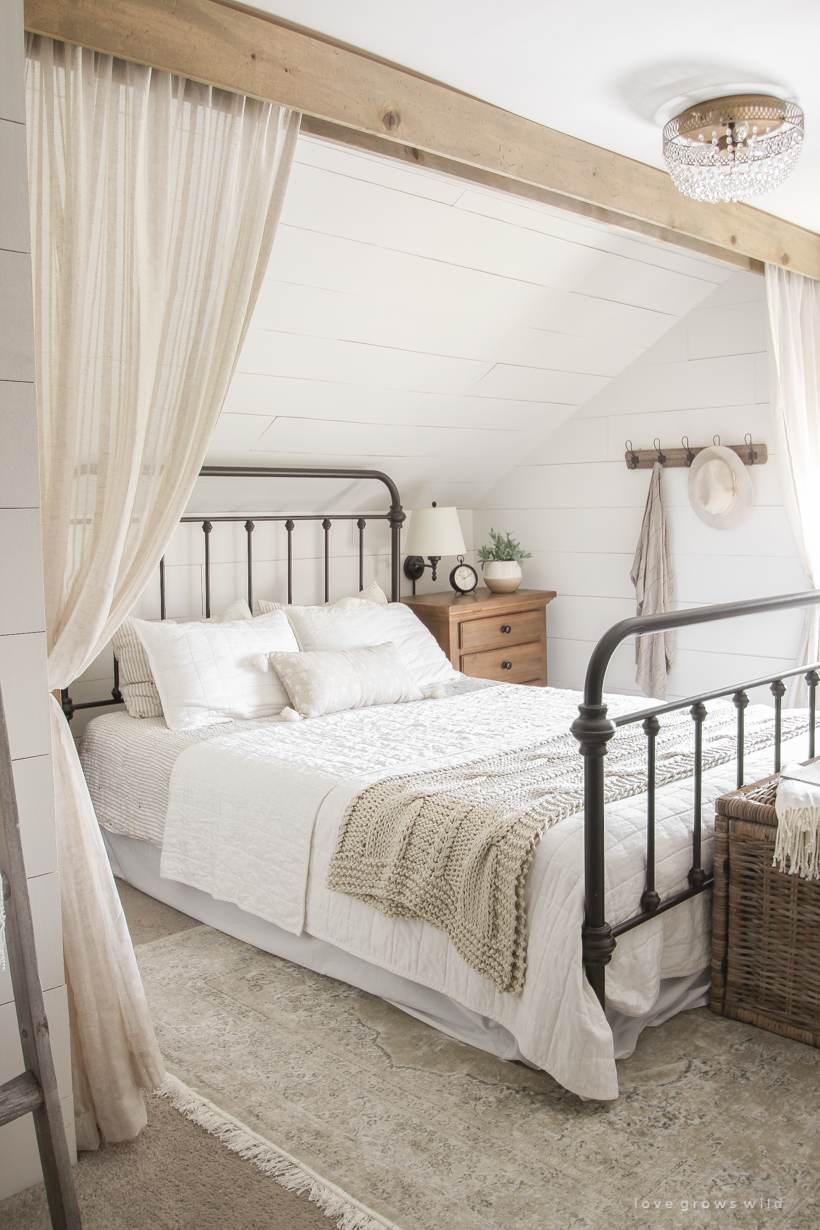
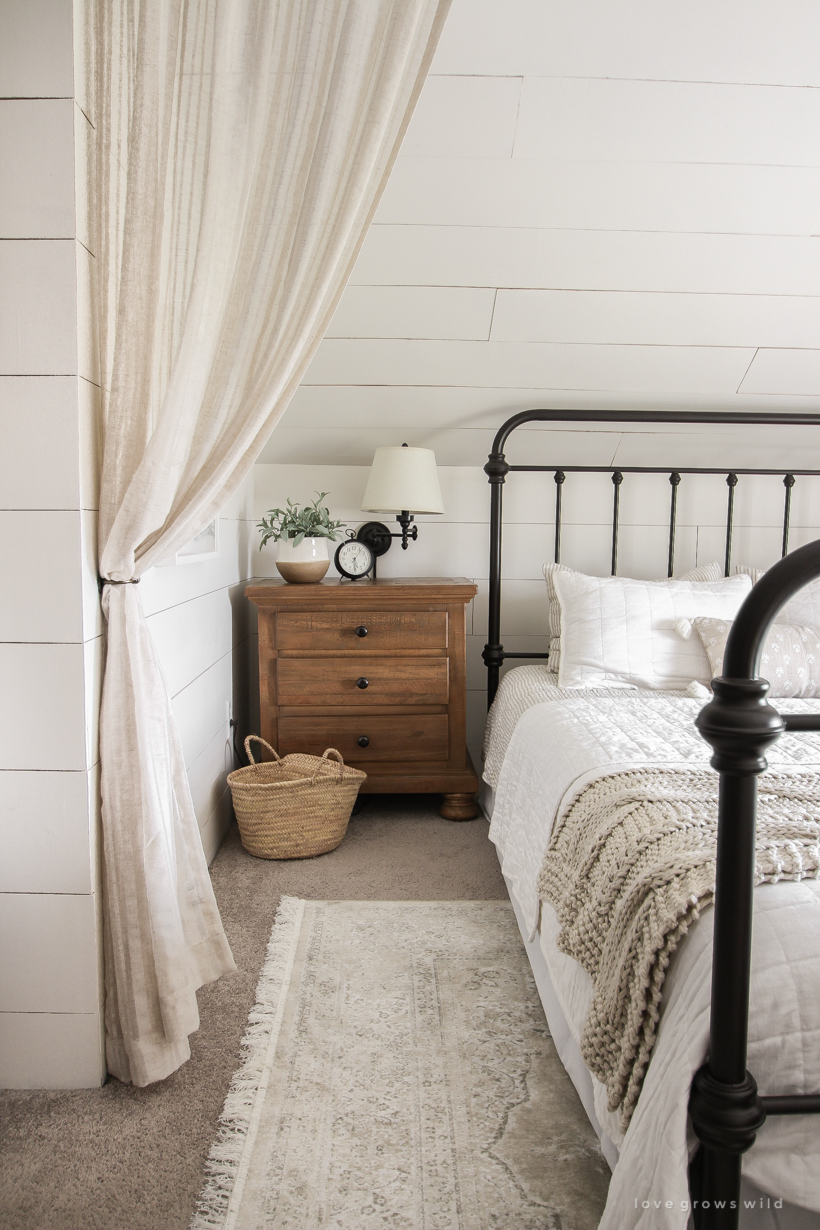
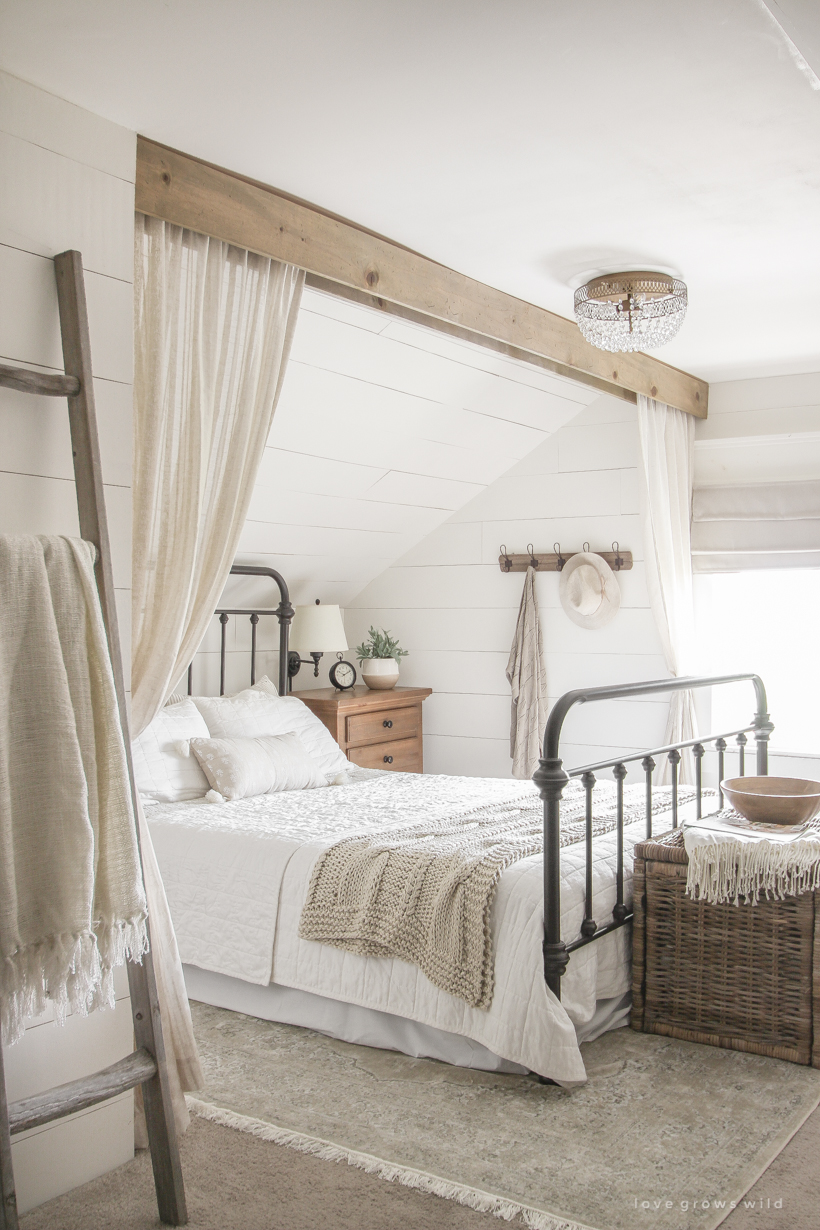
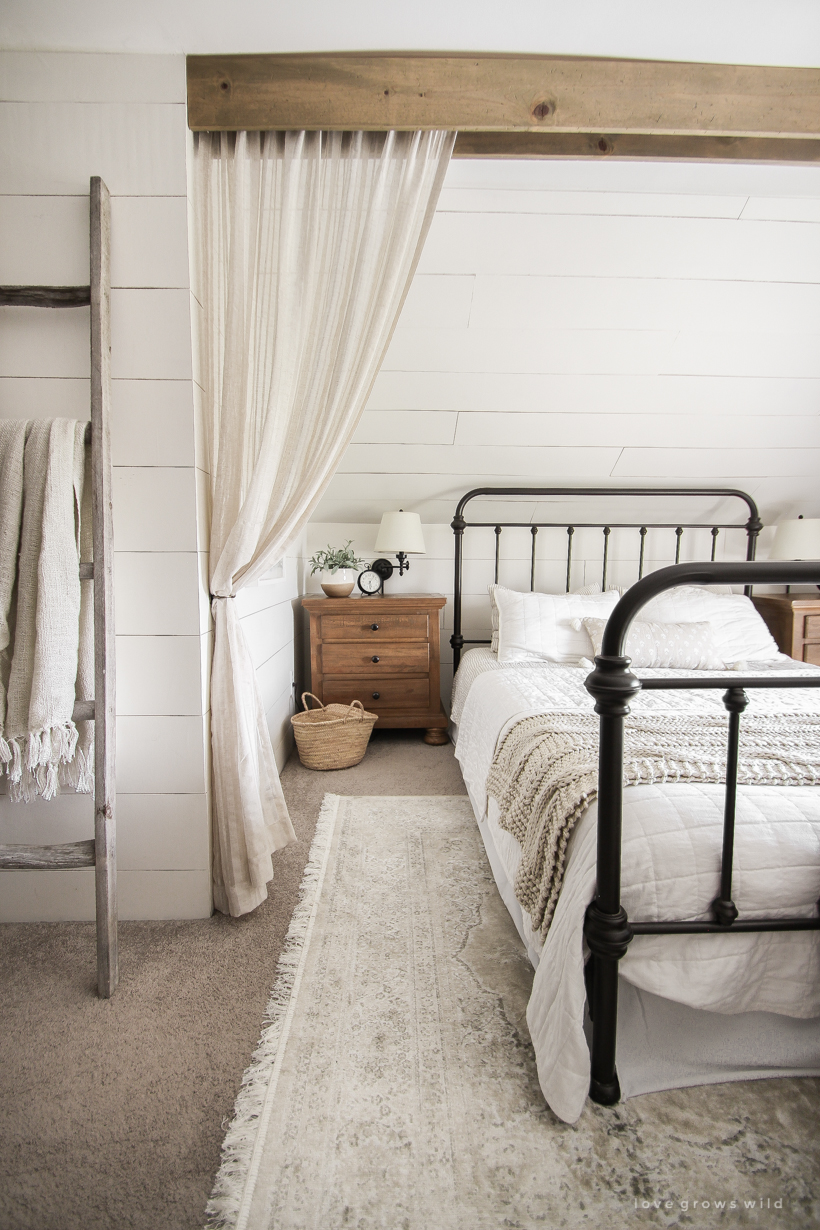
The next change I made was swapping out the frilly white lace curtains around the bed with a softer, more organic sheer cream curtain, also from Target. I first bought this particular curtain for my kitchen earlier this year and love the look so much I decided to put a pair in my bedroom too.
Now can we talk about this rug?
Swoon. I haven’t had a big area rug under the bed in awhile, but the boring carpet needed a little bit of excitement. I found this beige medallion rug with fringe and loved the muted colors and subtle pattern. It’s not very thick, but I didn’t need anything plush since we already have carpet. And I can’t get over just how pretty it is in person.
I moved my old IKEA wicker trunk from the living room to the foot of my bed to store extra throw blankets, and even though it’s been discontinued for a few years now, I found a few similar options for wicker trunks if you like this look:

just click any of the images above for more details

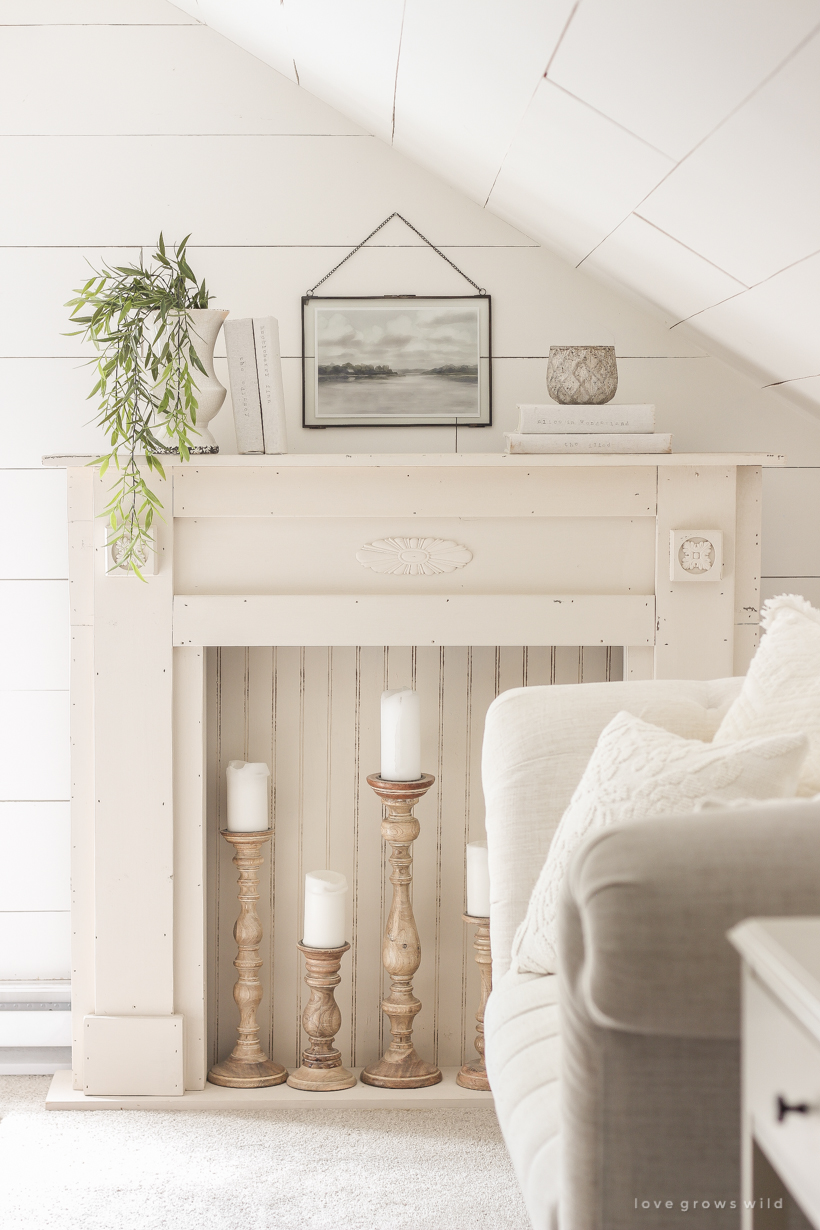
Over on the mantel (you can see how to build one here), I updated the space with some new artwork, a little faux greenery from Hobby Lobby, and covered books that I made using this tutorial. For the landscape art, I just purchased the digital download and had it printed through Printique. You can find a similar pressed glass frame here in several different sizes!
I have a few more ideas for my room that I’m hoping to try in the next few months, but I’d love to hear what you think of these changes! Let me know if you have any questions, and thank you for being here!
SHOP THE POST
wall color: Dove White by Valspar
diy shiplap tutorial: here
mantel tutorial: here
wall mounted coat rack: Amazon
sheer cream curtains: Target
faux wood beam tutorial: here
bed frame: Overstock
stripe & stitch comforter set: Target
heavyweight white linen blend quilt: Target
heavyweight white linen blend pillow shams: Target
white bed skirt: Target
knit throw blanket: Wayfair
dream artwork: Etsy
wood candleholder set: Wayfair
pressed glass frame: similar at World Market
wicker trunk: similar at Macy’s
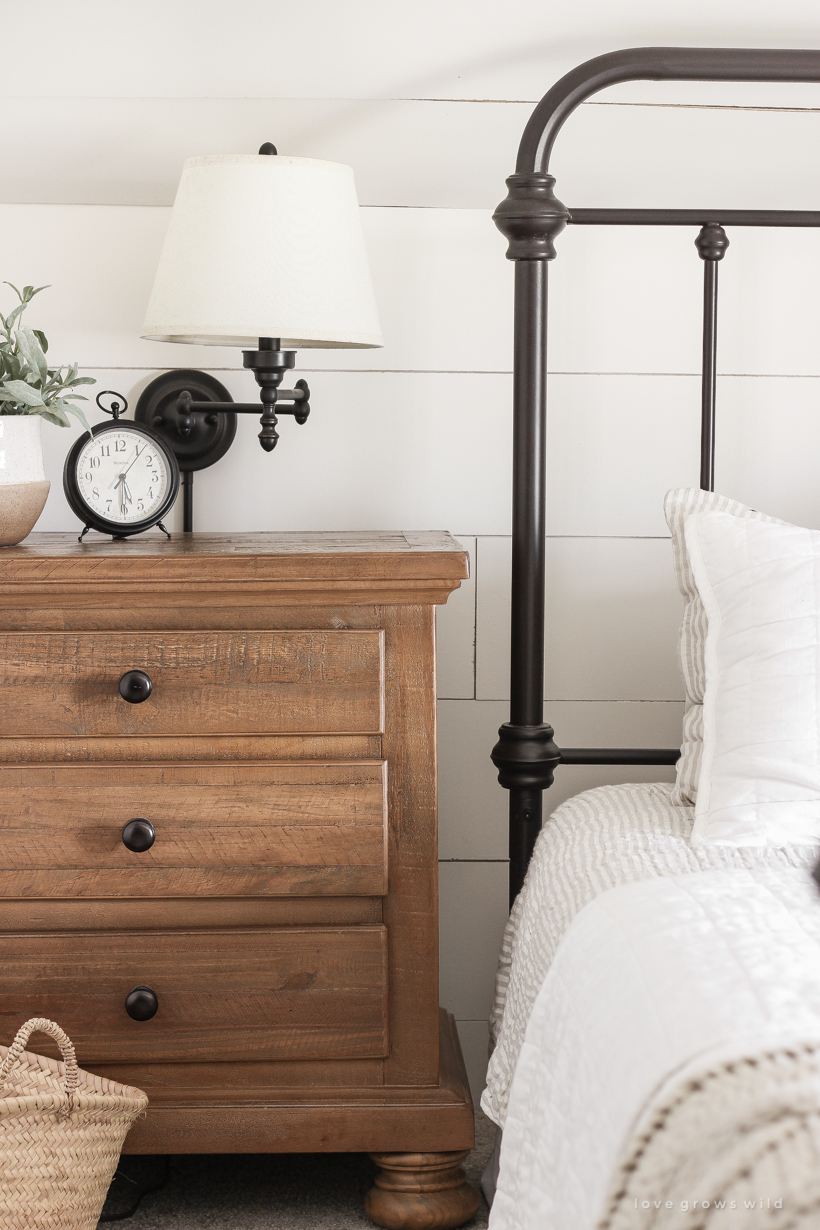
nightstand: similar at Wayfair
swing arm lamp: similar – Overstock
crystal flushmount light: similar – Pottery Barn
roman shade: JcPenney
lumbar pillow: Target discontinued
nightstand vase: Hobby Lobby
covered books: tutorial here
wooden bowl: IKEA
straw market bag: Etsy
Note: As always, I sincerely appreciate you shopping through the links I share, which allows me to make a small commission from your purchase while your purchase price stays the same. When you use my affiliate links, I’m better able to create content for this blog as well as support my family, and I thank you from the bottom of my heart for supporting what I do!

I love these updates! It looks warm, cozy and inviting. I also love the simple and uncluttered decor.
So beautiful! Target here I come!
Love it all! Love every version of your mantle, but, this one has a great sense of serenity 💕
Love it all 😀 neutral is so timeless. Particularly love the pressed glass frames. I live in New Zealand and sadly the shipping is more than the item!
I adore your bedroom! It looks inviting and warm.. I’m going to go look for the throw you have on your bed 🙂
Everything looks beautiful.
First time commenting.