
At the beginning of the year I decided it was time to get my kitchen better organized and create a pantry space for more storage. The first step was all about functionality and finding the right organizing tools. What a difference this has made… someone please tell me why I didn’t do this sooner! You can read all about that part of the pantry reveal HERE.
The second step was to make this space look as good as it now functions, and that’s exactly what I’m sharing with you today: what I did with the little sink area next to the pantry closet and how I styled it!

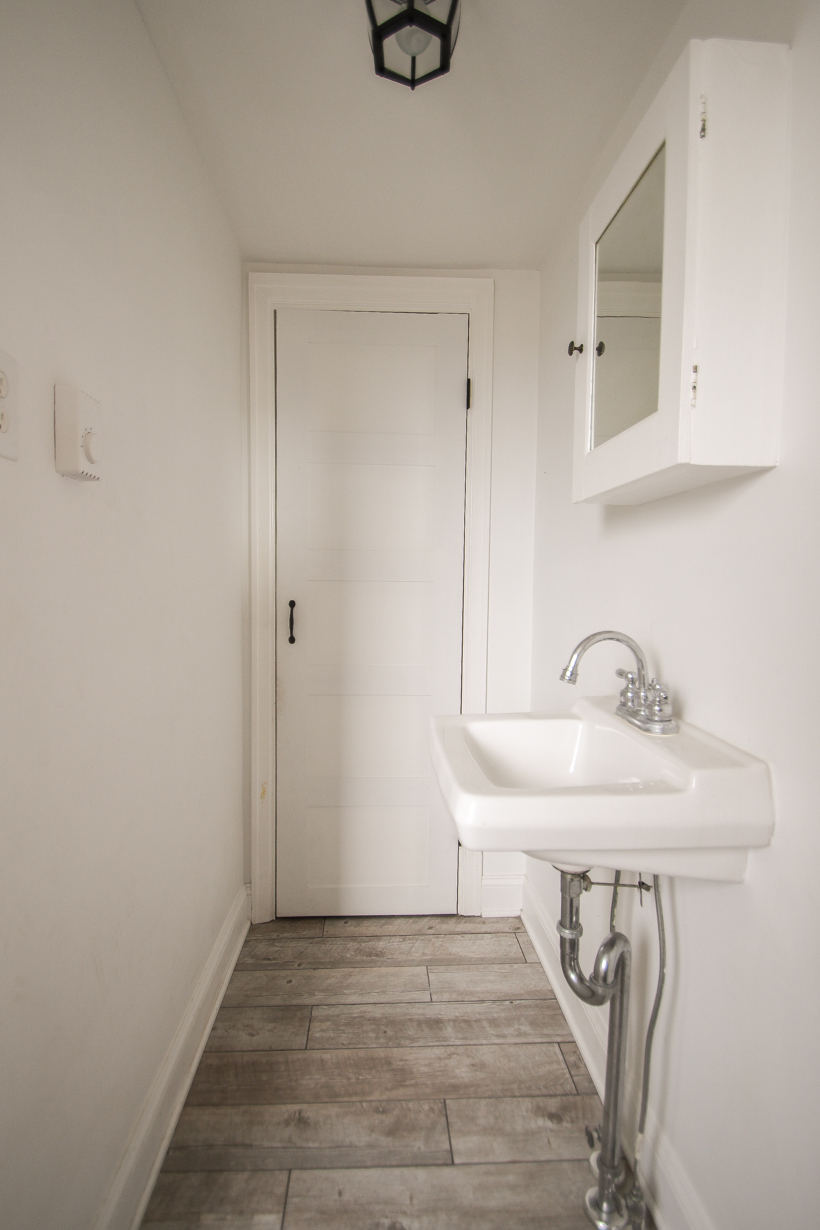
Here is how the space looked before I got started:
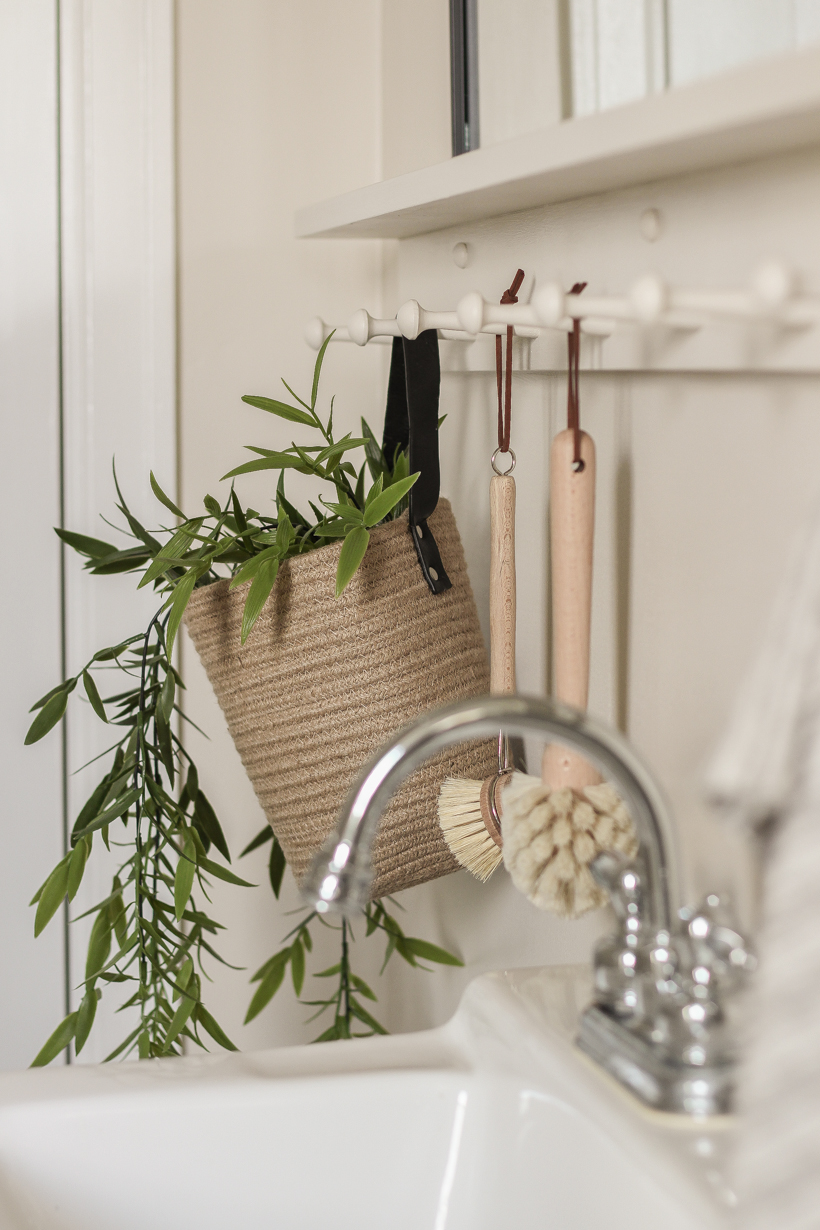
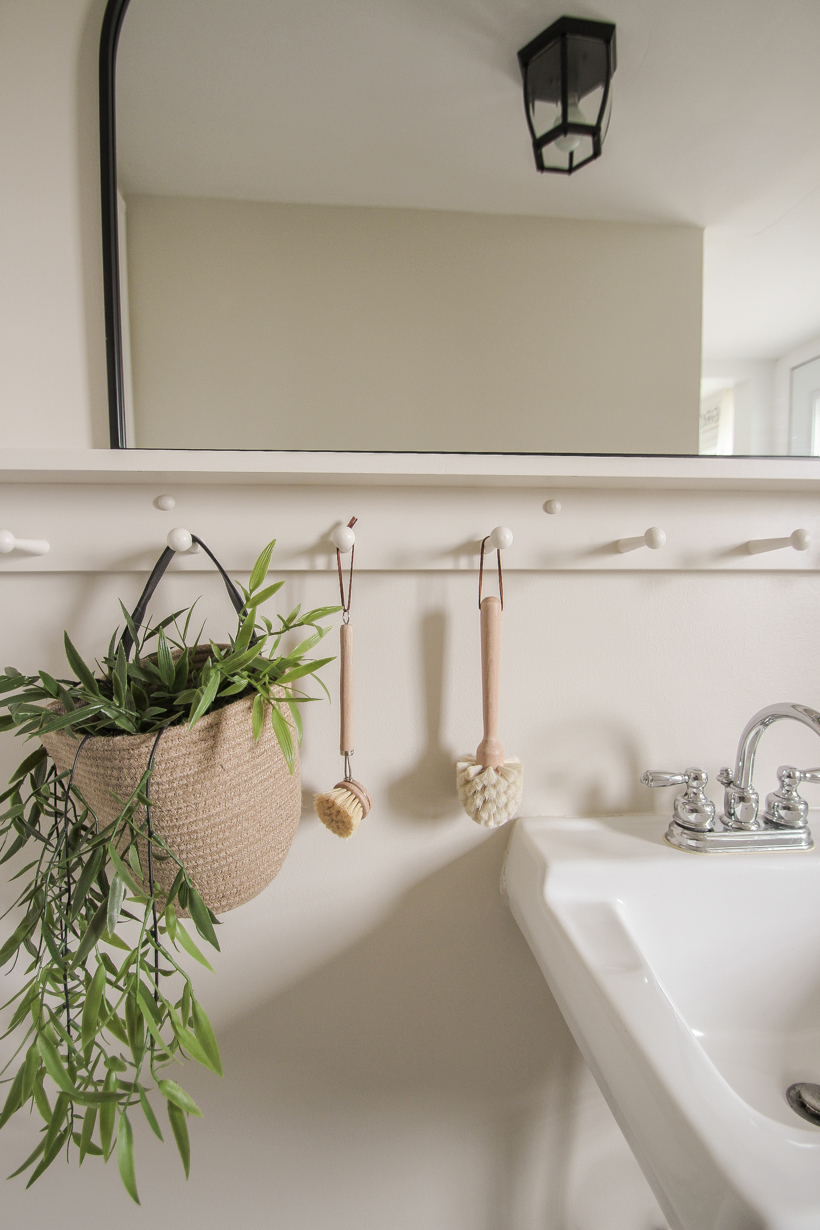
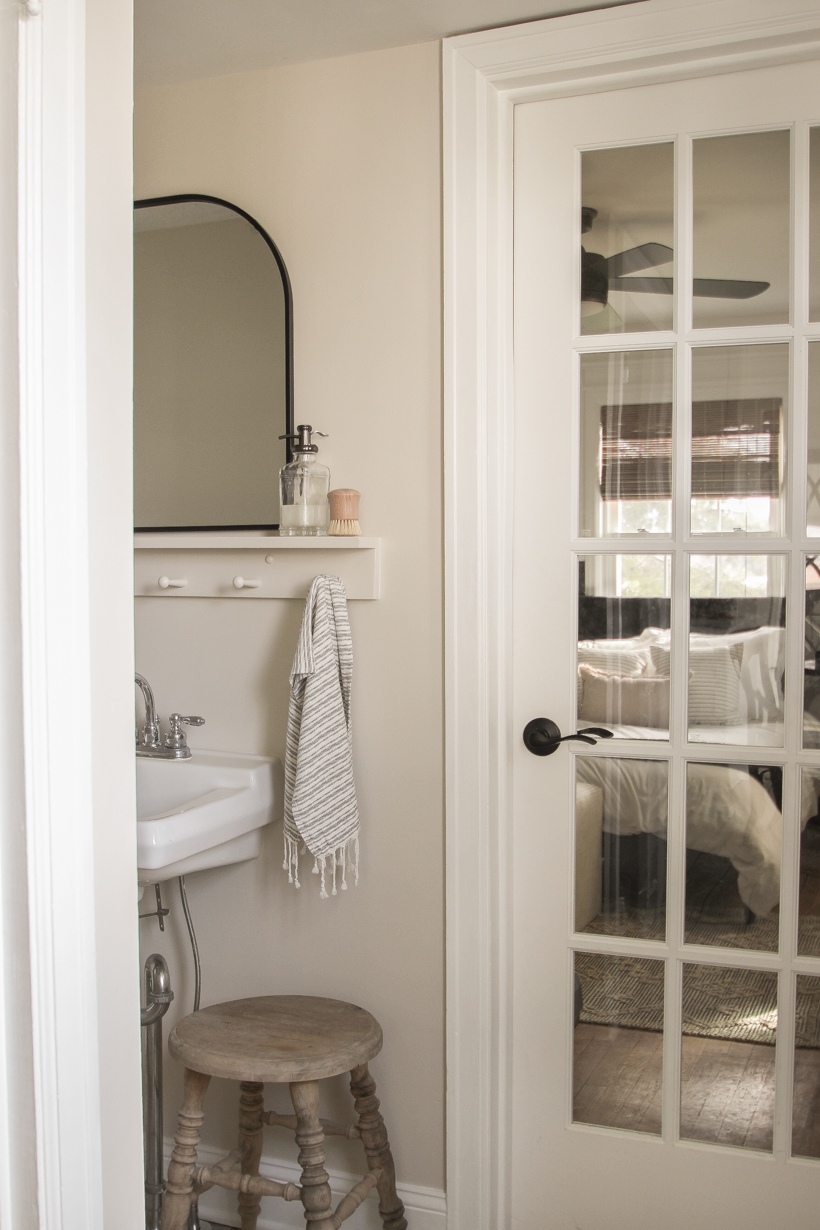
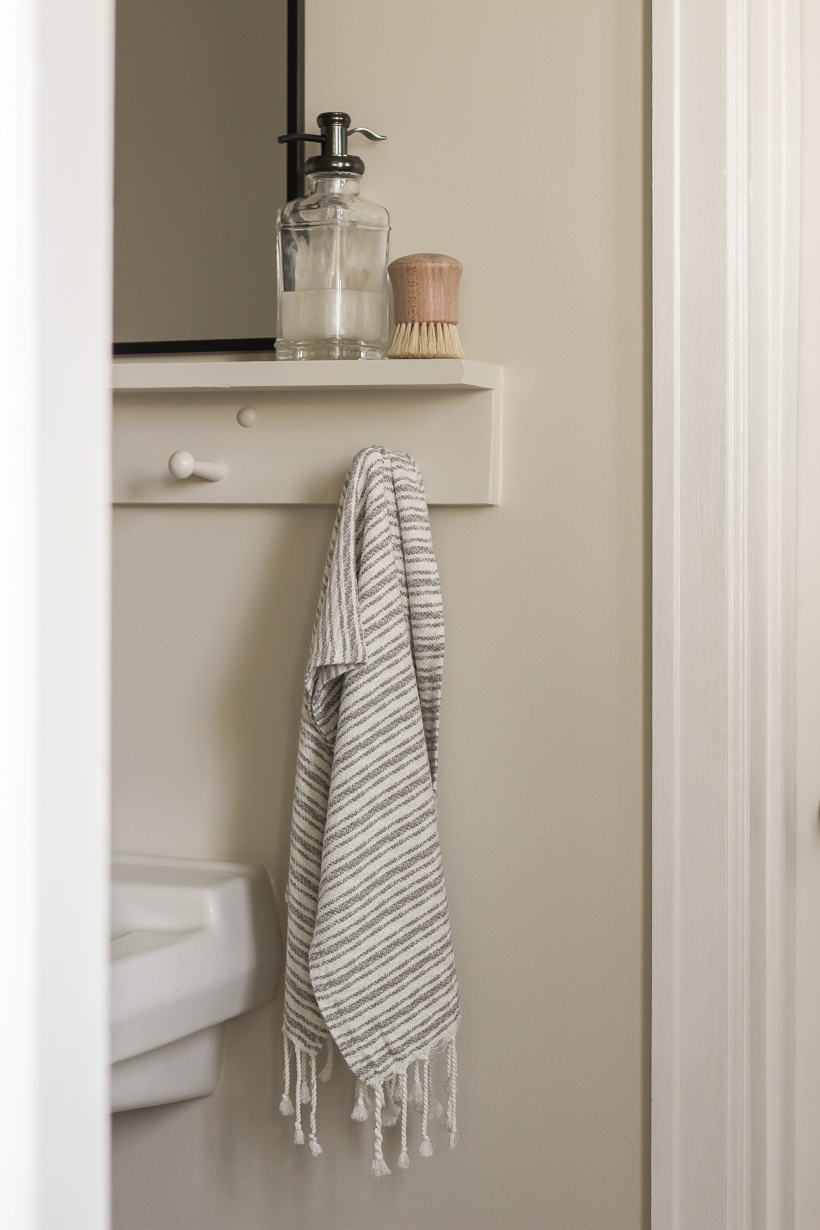
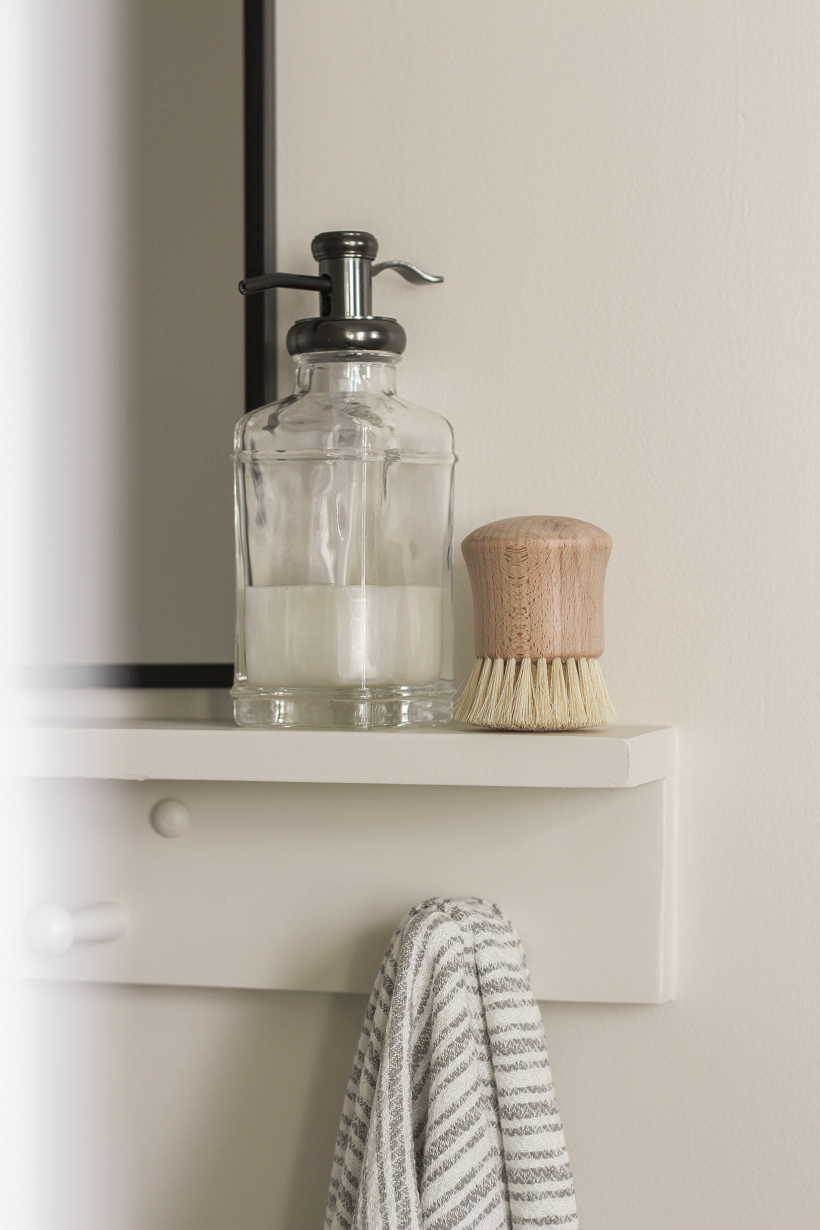
One of the first decisions I made was to remove the old medicine cabinet we didn’t use, paint everything a warm neutral putty color, and install a peg shelf above the sink. I ordered an unfinished shelf from here and painted it to match the walls. I’m very pleased with the quality of the shelf, and my only regret is that I didn’t order one in a custom size that would stretch all the way from wall to wall. I think that would have made it look a little nicer, but I’m still very happy with how this project turned out. And it gives me the perfect place to hang cute accessories like this jute basket with faux greenery and some cleaning brushes I brought home from my shop.
I had the hardest time choosing a mirror for above the shelf. Originally it just made sense to have one centered above the sink like the medicine cabinet was. But do I want something rectangular, a circle, something vintage and ornate, or simple and modern? After the shelf was installed I felt like it needed something longer and larger to fill more of the wall space, and this black framed mirror (meant to go over a mantel) was the perfect solution and super affordable for the size.

I talked more about the paint color details in the last pantry update, but here is the short version of it:
Edgecomb Gray by Benjamin Moore, lightened by 50%.
Lightening a paint color keeps the same color value, undertones, etc. but just makes it lighter (or darker, if that’s what you want).
My thoughts on this paint color: Now that I’ve lived with the color for a bit, it does look very peach toned at certain times of the day, depending on the lighting. It doesn’t bother me enough to repaint this area, but I don’t think it will be a color I end up using all over the main level like I had hoped.
HOW TO ASK FOR A LIGHTENED PAINT COLOR:
At the paint counter, I asked them to mix one gallon of Edgecomb Gray by Benjamin Moore lightened by 50% in a satin finish. You’re basically removing 50% of the color “recipe” that goes into the base, making it 50% lighter and changing the LRV, or light reflectance value.
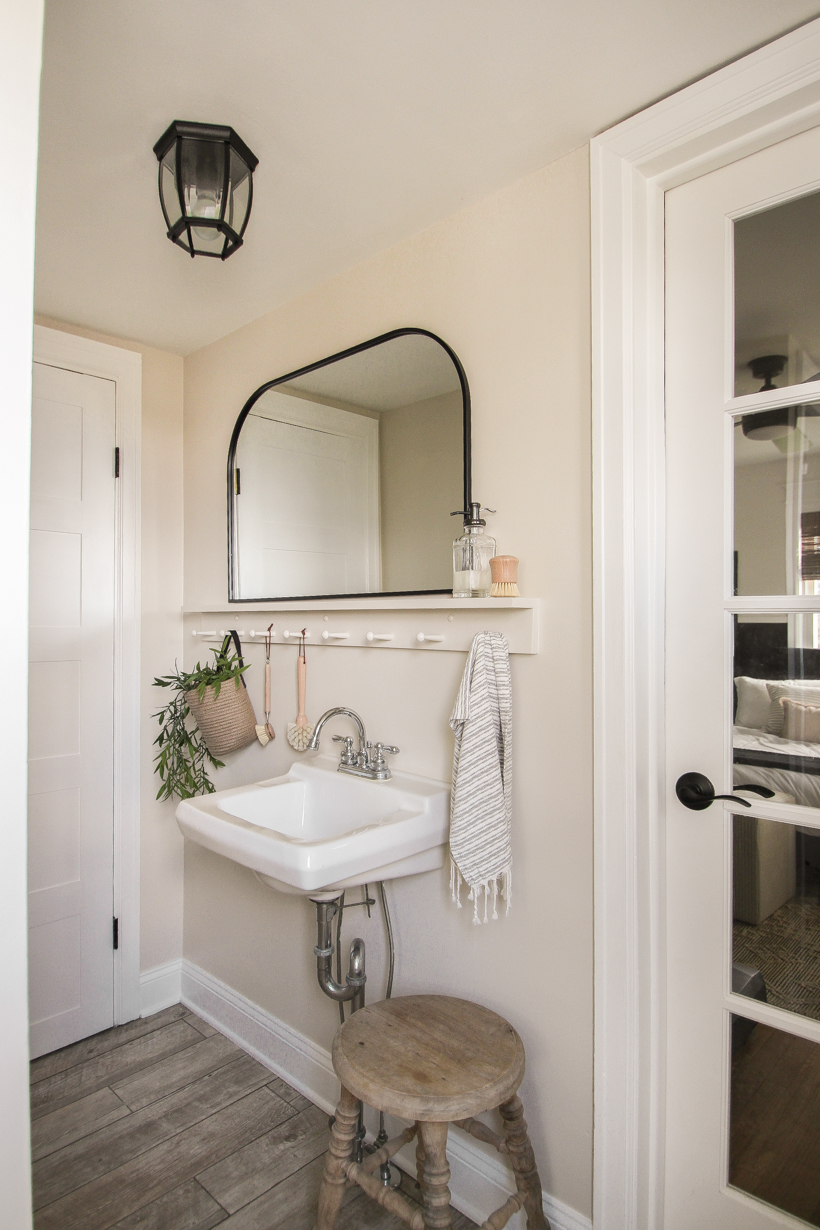
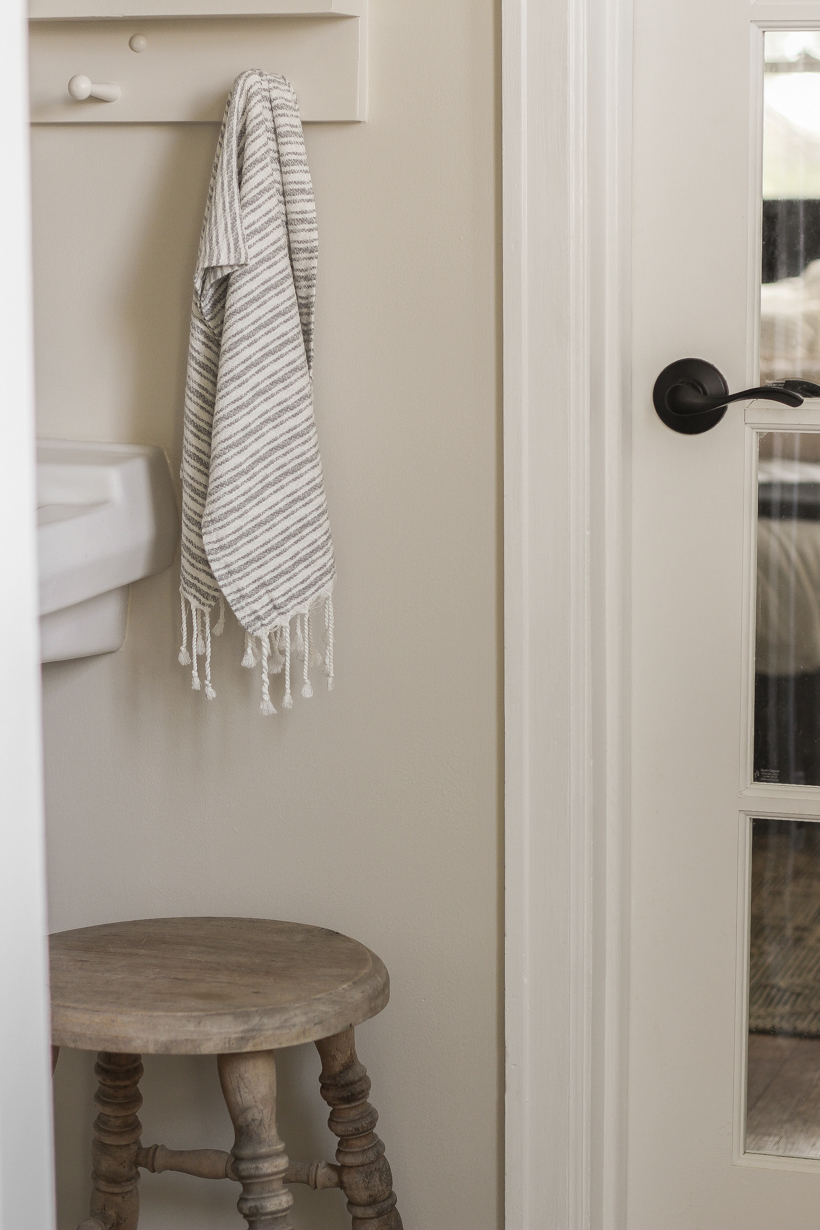
I added a pretty wood stool next to the sink to distract from the exposed pipes and set a soap dispenser on the shelf since there isn’t much room on the sink itself. This sink honestly doesn’t get used much; this was more just styling the space to make it make sense. But it does come in handy when we come in from being outside and all need to wash our hands since it’s right by the back door. Most homes have some kind of quirky, unique space that you have to get a little creative with (some have more than others 🙂 ) to make work. But often times those odd spaces end up becoming my favorite in the end.
SHOP THIS SPACE:

As always, I sincerely appreciate you shopping through the links I share, which allows me to make a small commission from your purchase while your purchase price stays the same. When you use my affiliate links, I’m better able to create content for this blog as well as support my family, and I thank you from the bottom of my heart for supporting what I do!

I think your bathroom refresh is absolutely adorable. I also can envision a cute little velcro skirt that you could attach directly to the porcelain to hide the underside of the sink and pipes. As always, I love your style!
I absolutely love this little powder room! Yes a black ticking skirt would be adorable.
I love the changes you made. It looks great! It’s interesting that the color reads peachy. I’ve used Edgecomb gray many times, in different homes with different lighting, and never had that issue. Maybe lightening the formula caused it?